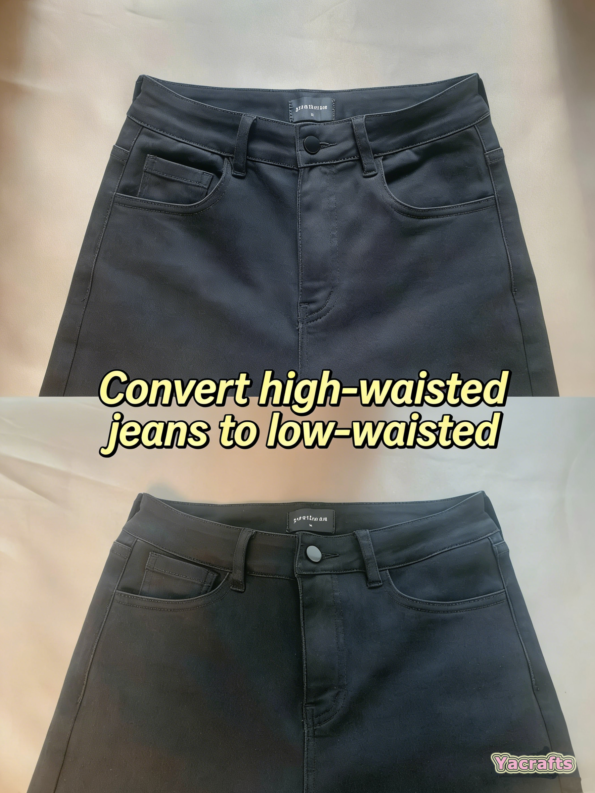
Do you have a pair of jeans that fits perfectly everywhere except the waist? Maybe the high-rise design feels too restrictive, or you’re looking to update an old favorite to a trendier low-rise style.
The good news is that you don’t need expensive tailoring services or industrial equipment. By mastering the “Waistband Reset” method, you can achieve a professional-grade alteration at home. Today, yacrafts will walk you through the precise steps to transform your high-waisted jeans into a comfortable, stylish low-rise fit.
🛠 Essential Tool Kit
- 🛒All-in-One Basic Sewing Kit
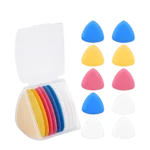
- 🛒10Pcs Triangle Tailors Chalk Set
- Fabric Scissors
Step-by-Step Alteration Guide
Step 1: Damage-Free Waistband Removal
The first step is to completely detach the original waistband. Denim stitching is dense and heavy; pulling or tugging can easily snag or tear the fabric.
Pro Tip: We highly recommend using the professional seam ripper included in the [🛒yacrafts All-in-One Sewing Kit]. Its tiny red protective ball prevents accidental cuts to the fabric, allowing you to slice through stitches like a zipper while keeping the garment intact.

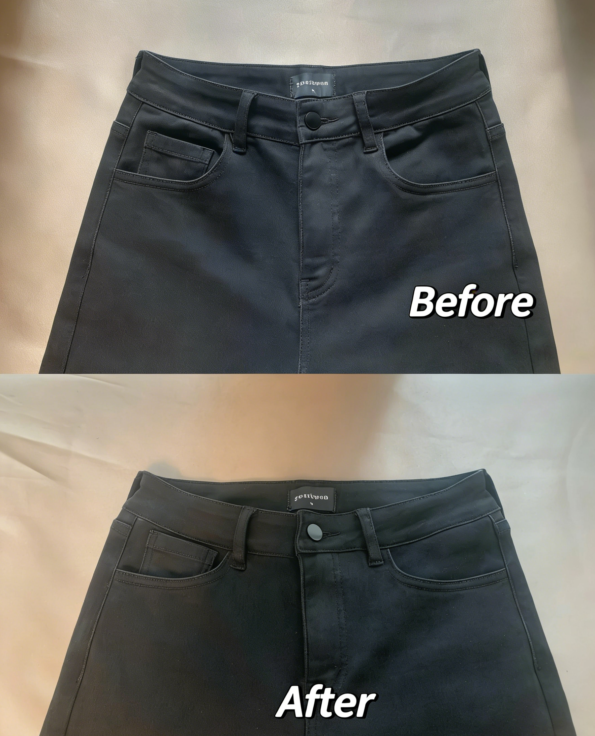
Step 2: Comparison and Positioning
Lay the jeans flat after removing the waistband. Compare the “Before vs. After” by visualizing your ideal new waistline. Typically, dropping it by 3–5 cm results in the most natural-looking low-rise fit.
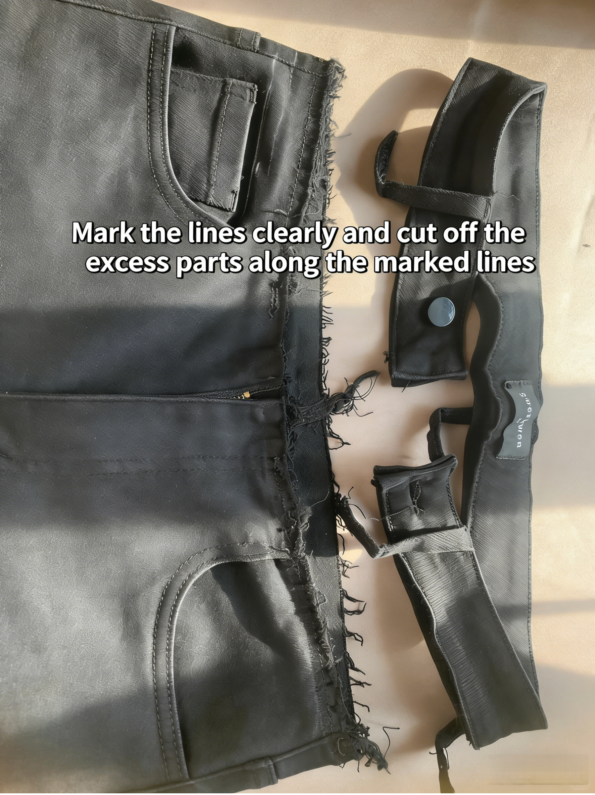
Step 3: Precise Marking and Cutting (The Secret to Success!)
This is the most critical step. A low-rise waistline must follow the natural curve of the hips, so your markings need to be smooth and accurate.
Tool Spotlight: Standard markers often smudge or fail to show up on heavy denim. This is where the 🛒[yacrafts 10Pcs Triangle Tailors Chalk] shines:
- Ergonomic Design: The triangle shape provides a better grip and allows you to draw ultra-fine lines with the sharp edges.
- Multi-Color Coding: Use different colors to mark your “cutting line” and your “seam line” for total clarity.
The Action: Draw your line with the chalk, then cut along the mark.
Crucial: Always leave a 1 cm seam allowance above your line for reattaching the waistband.
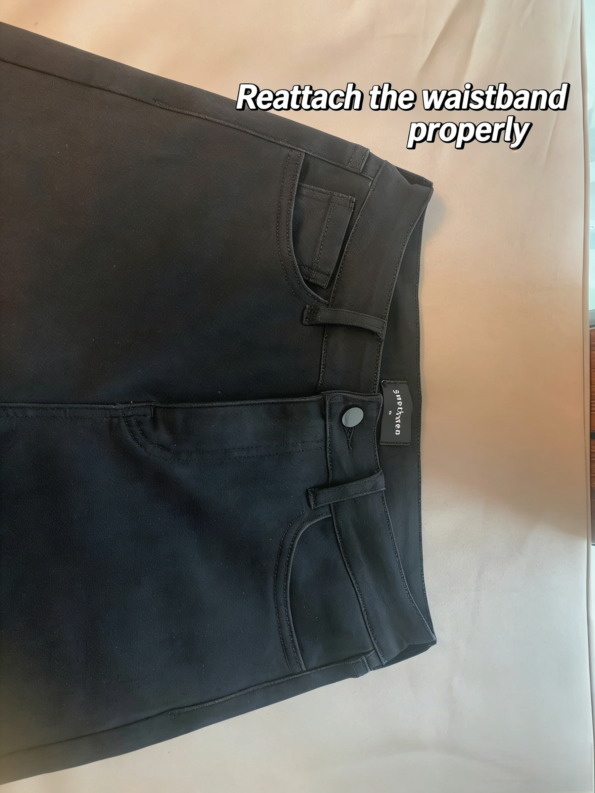
Step 4: Reattaching the Waistband
Align the original waistband with the newly cut edge. Since the circumference of the lower hip is usually wider than the original high waist, use the pins from your kit to secure the fabric evenly, easing in any slight differences.
🛒600 Pcs Pearlized Sewing Pins
Step 5: Reinforcement Stitching
Finally, sew the waistband back on using a sewing machine or the high-strength needles and thread from your kit. Since denim is thick, using a thimble (found in the kit) will protect your fingers while ensuring your stitches are deep and secure.
Closing Thoughts
The beauty of DIY is that you aren’t just fixing a garment—you’re defining your own style. With a little patience and the right tools, anyone can be their own fashion designer.
Ready to start your denim transformation? Get the professional tools used in this tutorial here:
🛒📦 [Shop Now: Essential All-in-One Sewing Kit]
🛒✍️ [Shop Now: Professional 10-Color Triangle Tailors Chalk]