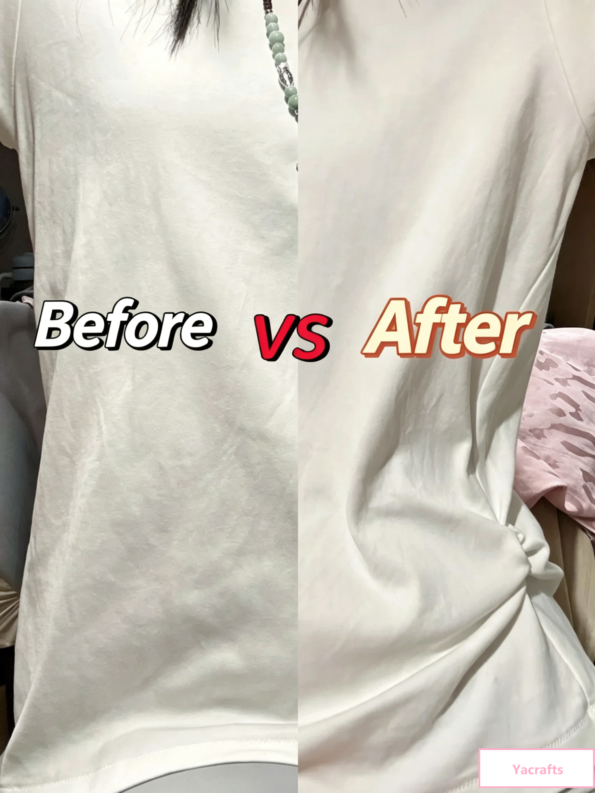
✂️ 3 Easy Steps to a DIY Cinched “It-Girl” Top
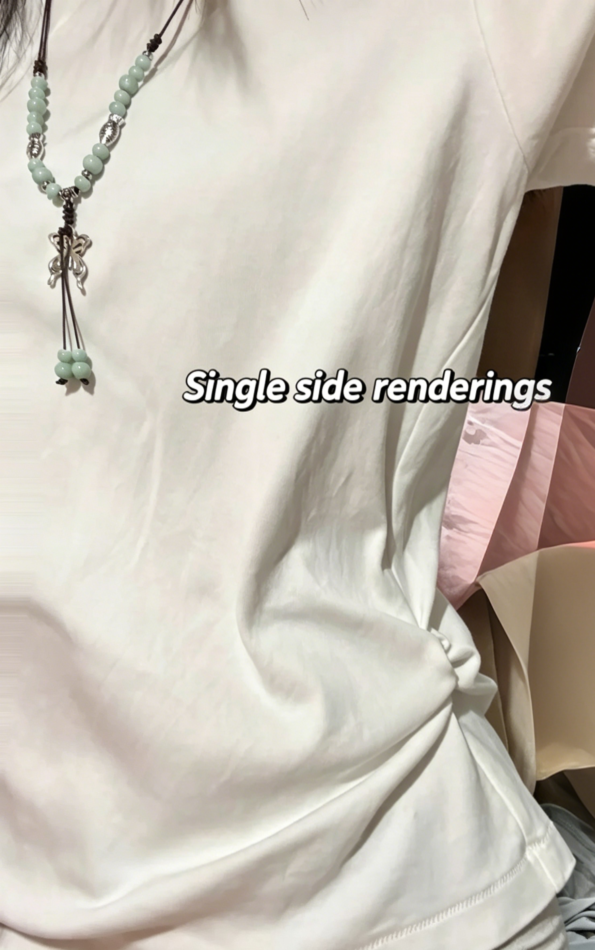
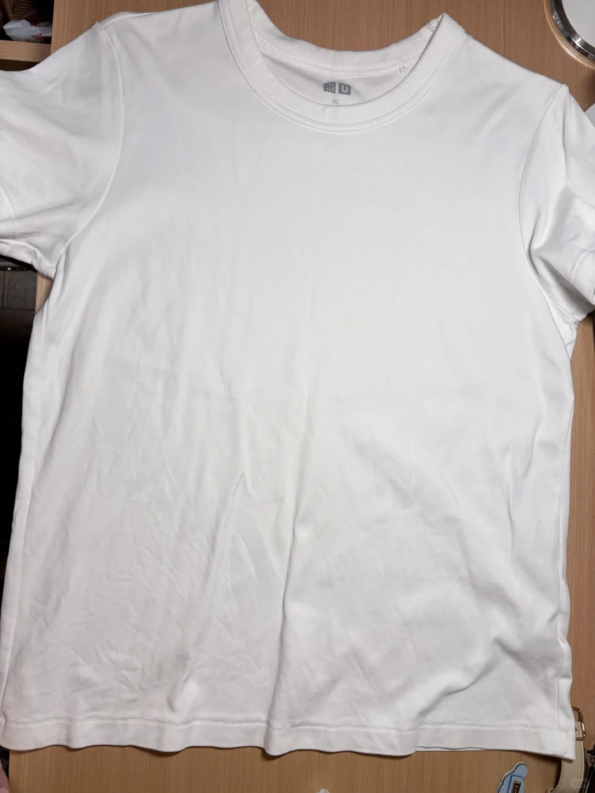
Do you have a basic white T-shirt gathering dust in your closet because it’s just too big? Before you donate it, try this! In today’s blog, I’m showing you how to transform a plain, oversized tee into a trendy, waist-cinching cropped top in just 10 minutes. It’s the perfect way to get a custom-fit look for $0.
📌 Step-by-Step Guide
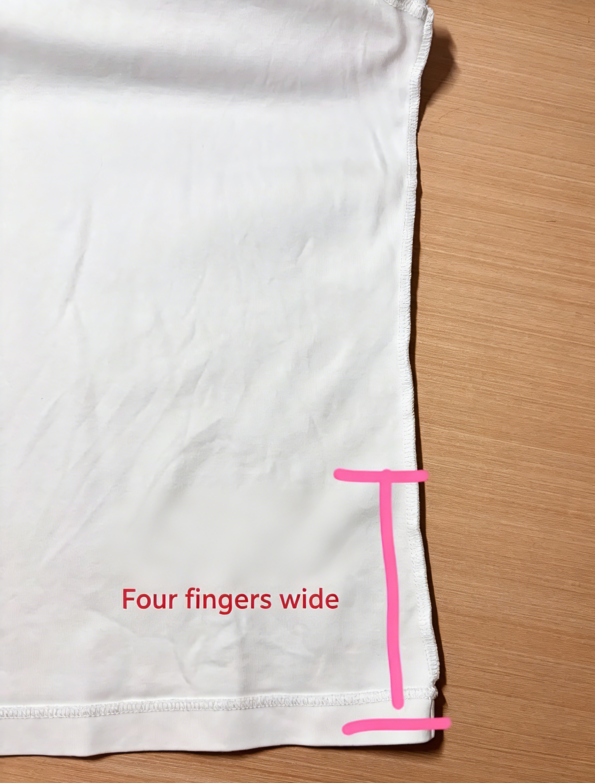
Step 1: Locate & Mark First, put the shirt on to find your natural waistline. Using your Tailor’s Chalk, mark your pleat points. A good rule of thumb is a four-finger width (roughly 8cm) from the side seam.
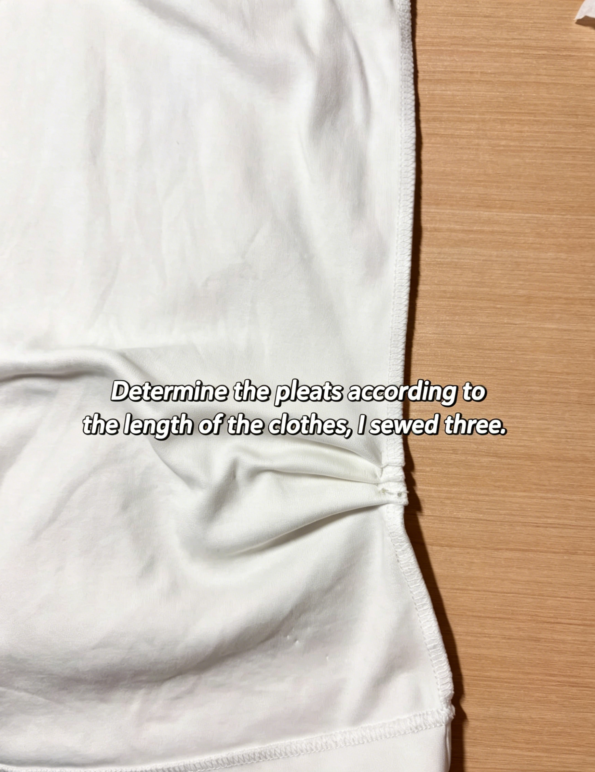
- Grace’s Tip: I made 3 pleats, each 2cm deep. This creates that perfect cinched effect without making the shirt too short.
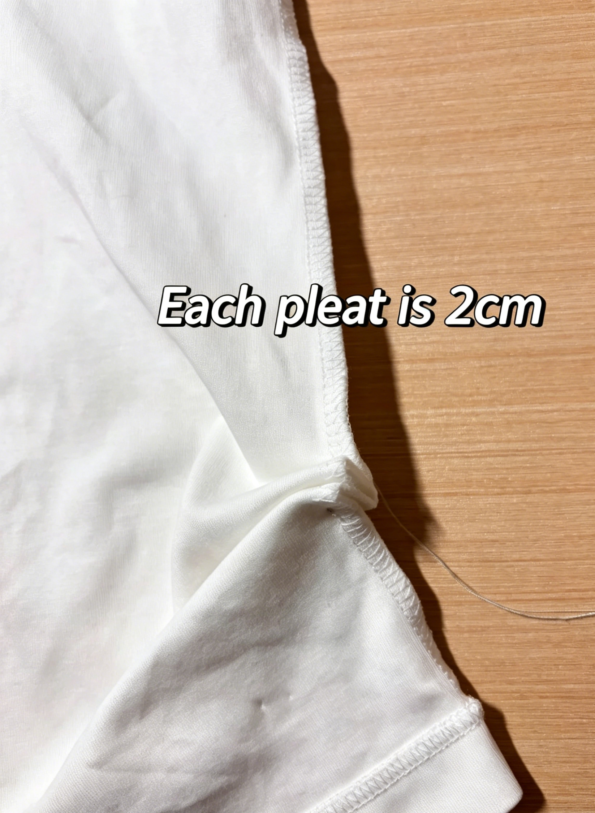
Step 2: Fold & Secure Fold the fabric at your marked points to create the pleats. Use sewing clips or pins to hold them in place.
- (Pro Tip: If you’re in a rush and don’t have clips handy, even a stapler can work for a quick temporary fix! Haha!)
Step 2.1: Stitch & Finish Sew along the original side seams where your pleats are folded. You only need about 4 quick, sturdy stitches at the intersections of the pleats to secure the look. Flip it right side out, and you’re ready to head out!
💡 Pro Tips for a Better Fit
- Density Matters: The closer the pleats, the slimmer the waist will appear. Just make sure to leave some “breathing room” for comfort.
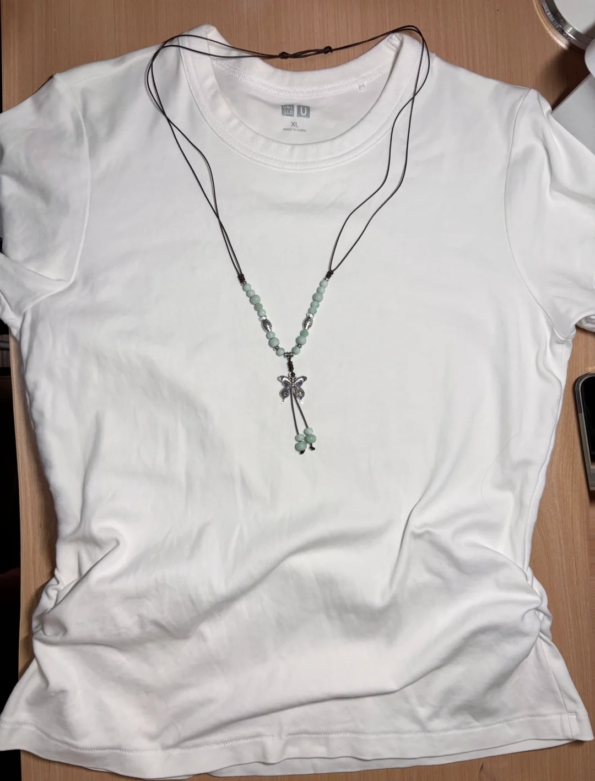
- Style It Right: Pair your new creation with high-waisted jeans to create a “legs for days” silhouette.
- Versatility: This exact method works wonders on oversized button-downs and loose dresses too!
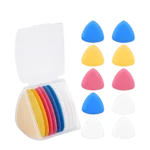
🧵 Essential Tools for This Project
To get the most precise results, here are the tools I used in this tutorial:
- Professional Bamboo Ruler: Perfect for measuring those 2cm pleats accurately.
- Tailor’s Chalk: Essential for marking your fabric without leaving permanent stains.
- 36 Pcs Big Eye Needle Kit: A lifesaver for quick hand-stitching! The large eyes make threading effortless.
Final Thoughts
Upcycling is all about giving your wardrobe a second life. If you try this DIY, I’d love to see your results! Leave a comment below or tag me on social media.
Happy Sewing!